Configuration
Opening System Settings
You can open the system settings in Solus Plasma using any of the following methods:
| Method | Description |
|---|---|
| Application menu | Open the application menu and go to Settings > System Settings |
| KRunner | Press Alt + F2 or Alt + Space, type systemsettings, and press Enter |
| Terminal | Open a terminal window and execute systemsettings |
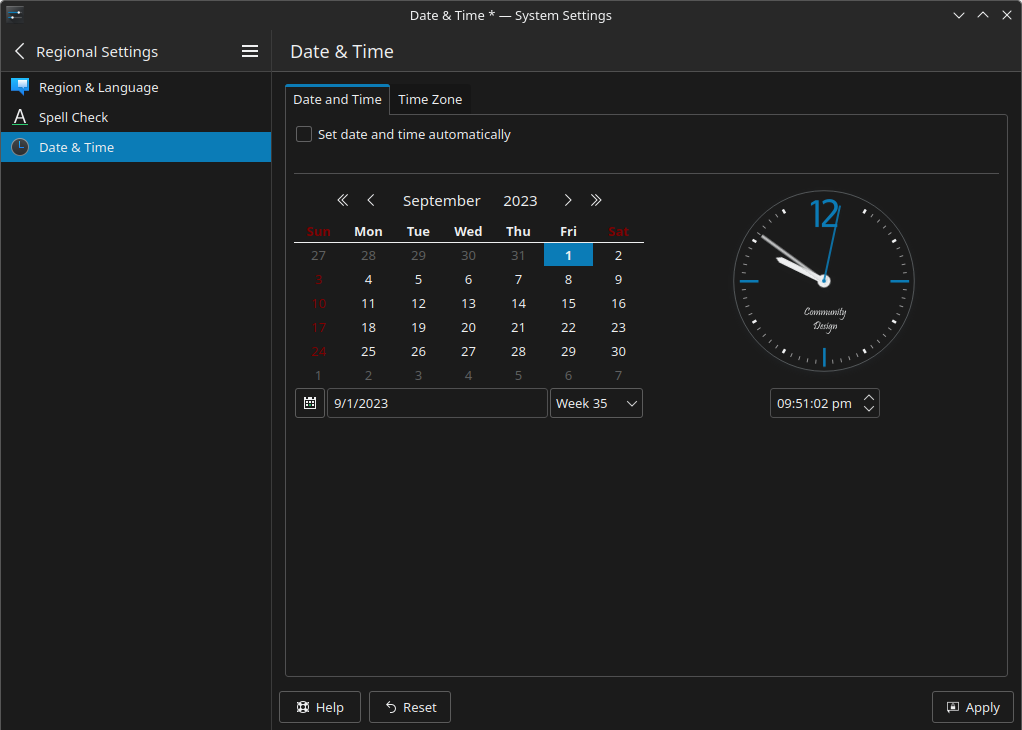
Date and time
- In the System Settings screen, go to Personalization > Regional Settings > Date and Time.
- Configure the date and time of your system.
- If you want Solus to set the date and time automatically, select Set date and time automatically.
- If you want to set the date and time manually, clear the Set date and time automatically checkbox, then use the available controls.
- (Optional) Configure the time zone of your system.
- Go to the Time Zone tab.
- Select a time zone from the list.
- Click Apply.
- (Optional) Customize how the time and date display in the bottom panel.
- Right-click the digital clock widget on the bottom panel.
- Select Configure Digital Clock...
- Configure the available settings as needed.
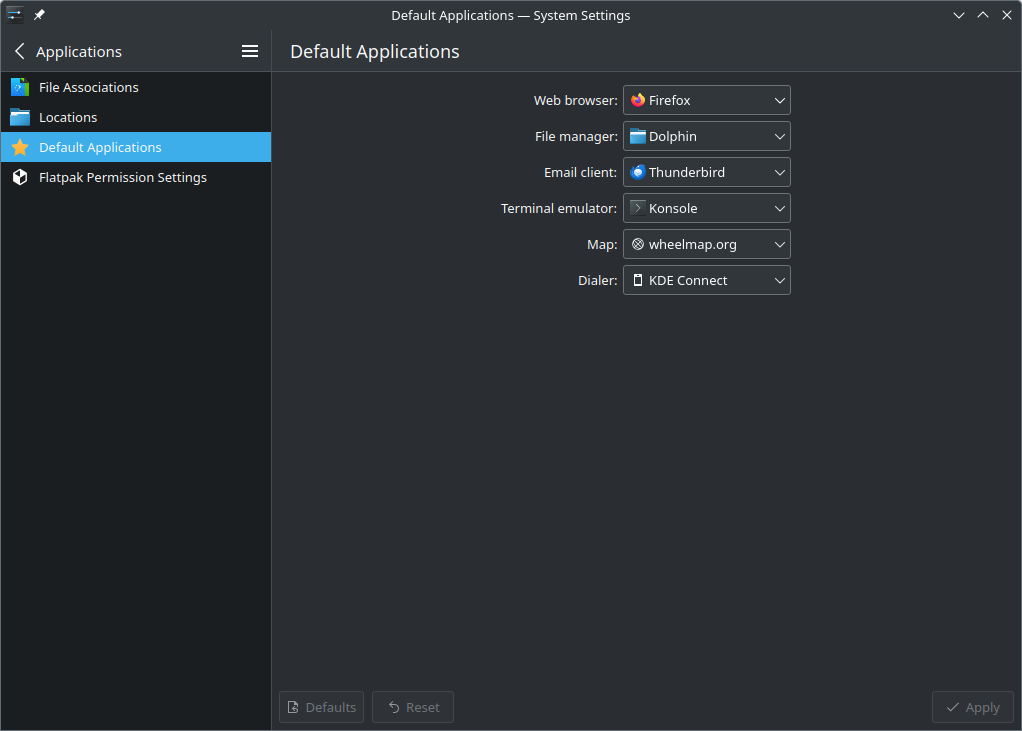
Default Applications
Configuring default applications from System Settings
In the System Settings screen, go to Personalization > Applications > Default Applications, then use the menus to select your preferred default applications.
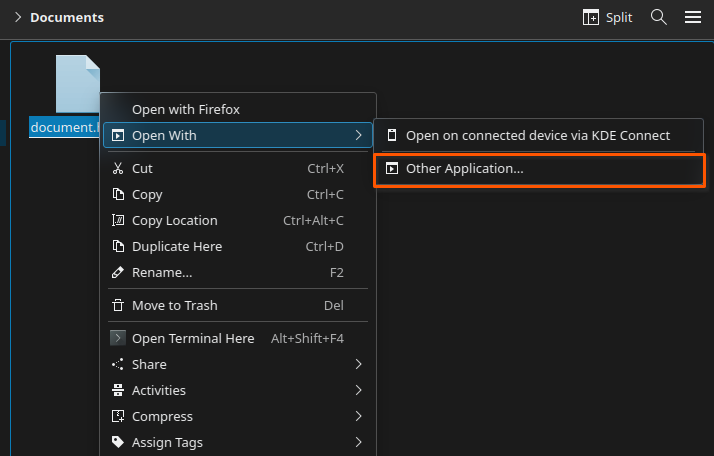
Configuring default applications from the file manager
-
Open Dolphin.
-
Navigate to the folder that contains the file you want to open.
-
Right-click the file.
-
Go to Open With > Other Application.
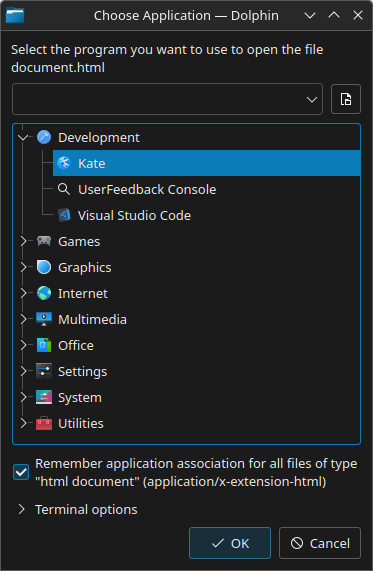
The Choose Application dialog appears.
-
Choose the application you want to use from the list.
-
Select Remember application association for all files of type [file type].
-
Click OK.
Displays
Press Super + P to access the screen layout settings.
- In the System Settings screen, go to Hardware > Display and Monitor > Display Configuration.
- Select the display you want to configure.
- Configure the available settings as needed.
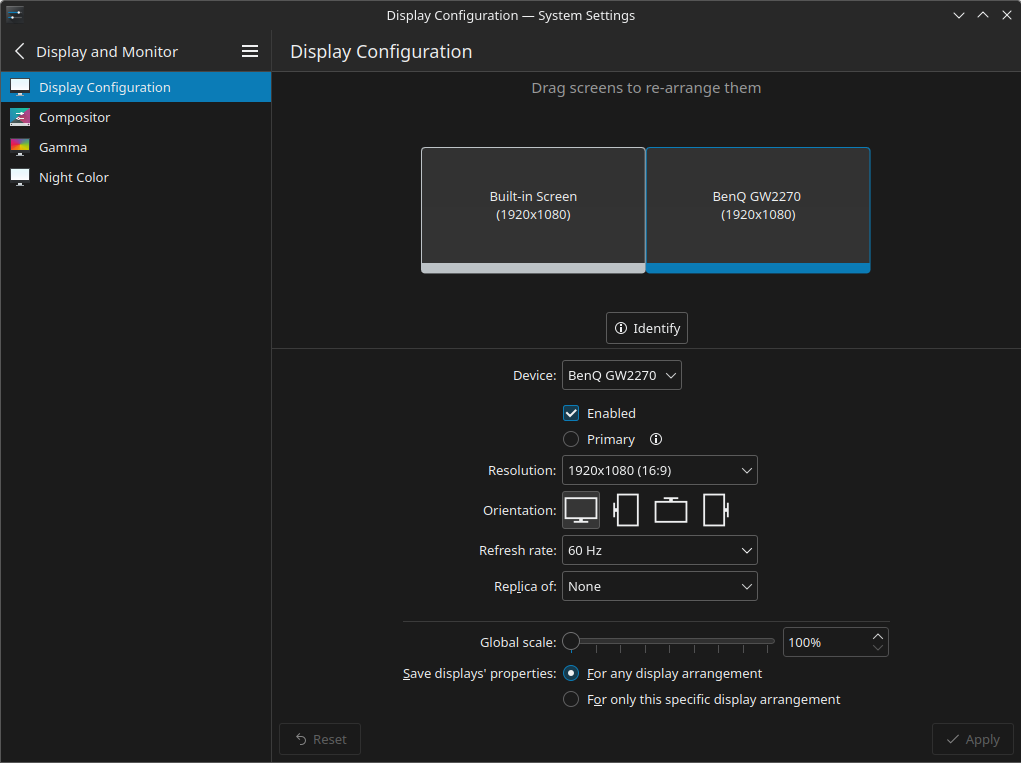
- Click Apply.
Keyboard layout
Configuring keyboard layouts
If you need to input languages that do not use Latin characters (for example, Chinese or Japanese), use IBus instead.
-
In the System Settings screen, go to Input Devices > Keyboard > Layouts.
The layouts screen appears.
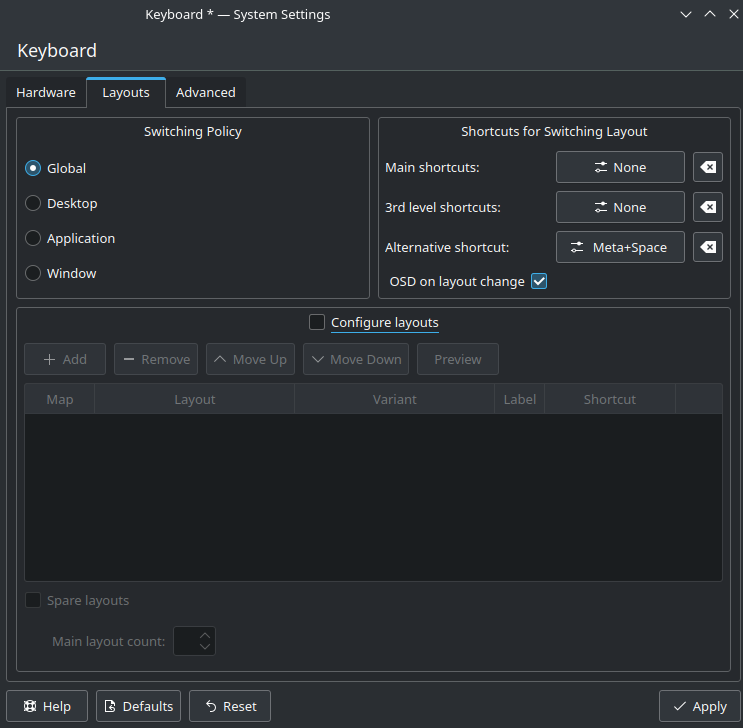
-
Select Configure layouts.
-
Configure keyboard layouts as you need.
- To add a keyboard layout click Add, select a layout from the list, and click OK.
- To remove a keyboard layout select a layout from the list and click Remove.
- To order the list of keyboard layouts, select a layout from the list, then use the Move Up and Move Down buttons to reorder the list.
-
Configure a keyboard shortcut to switch between layouts by using the options under Shortcuts for Switching Layout.
- To use the default shortcuts Solus Plasma provides, use the Main shortcuts and 3rd level shortcuts options.
- To use a custom shortcut, use the Alternative shortcut option.
-
Click Apply.
Using IBus
Solus Plasma includes IBus installed by default. However, you need to enable and integrate IBus with Plasma before usage.
Using IBus overrides the configuration in the Layouts section of System Settings
- Open the
/home/[username]/.bashrcfile with a text editor. - Add the following lines at the end of the file.
export GTK_IM_MODULE=ibus
export QT_IM_MODULE=ibus
export XMODIFIERS=@im=ibus
- Save the file.
- Configure IBus to autostart.
- In the System Settings screen, go to Workspace > Startup and Shutdown > Autostart.
- Click Add, then Add Application.
- In the search box, enter
ibus-daemon -rxRand press OK.
- Log out from your session, then log in again.
- Configure keyboard layouts as you need.
- Open IBus Preferences from the application launcher.
- In the Input Method tab, add the keyboard layout you need.
Some keyboard layouts require installing additional packages.
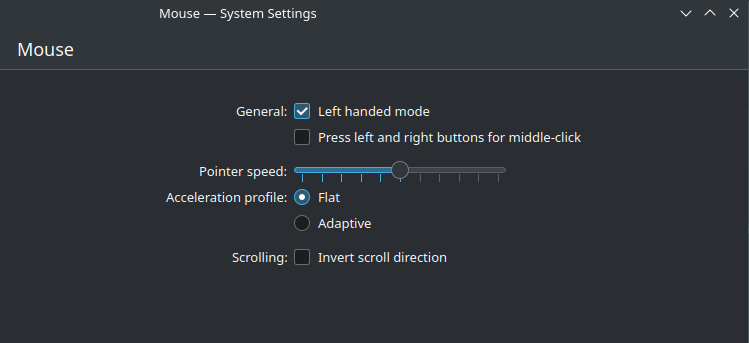
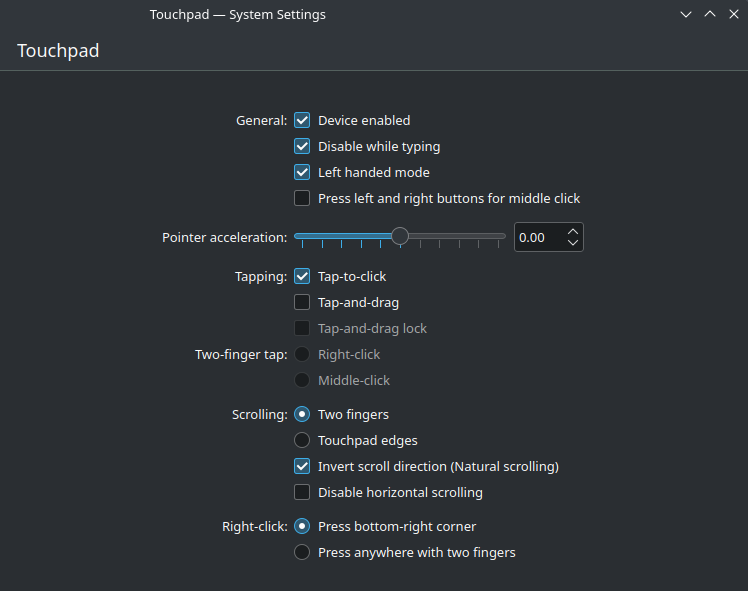
Mouse and touchpad
- In the System Settings screen, go to the appropriate configuration screen:
- To configure the mouse, go to Input Devices > Mouse.
- To configure the touchpad, go to Input Devices > Touchpad.
- To configure the mouse, go to Input Devices > Mouse.
- Configure the available settings as needed.
- Click Apply.
Network settings
The Networks widget on the bottom panel allows you to perform frequent networking tasks, such as connecting to a Wi-Fi network or enabling airplane mode.
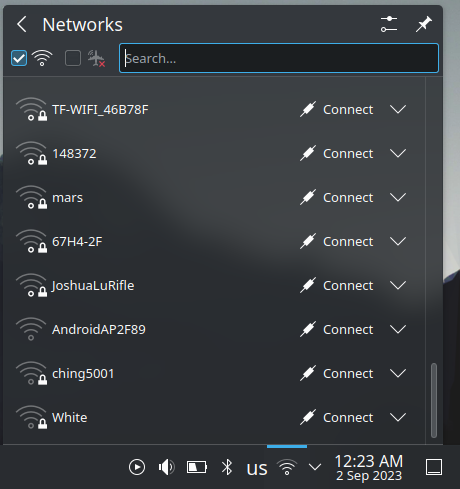
Connecting to a hidden Wi-Fi network
-
In the System Settings screen, go to Network > Connections.
-
Click the Add new connection icon (+).
-
Select Wi-Fi.
-
Click Create.
The New Connection window appears.
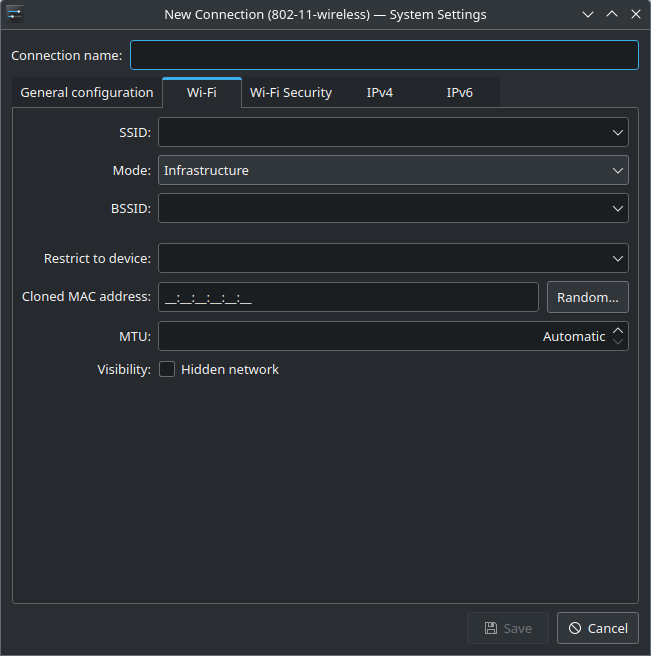
-
In the Wi-Fi tab, specify the name (SSID) and basic network settings.
-
In the Wi-Fi Security tab, configure the password or other authentication settings.
-
Use the IPv4, IPv6 and General configuration tabs to configure additional settings, such as DNS servers.
-
Click Save.
Sound and sound devices
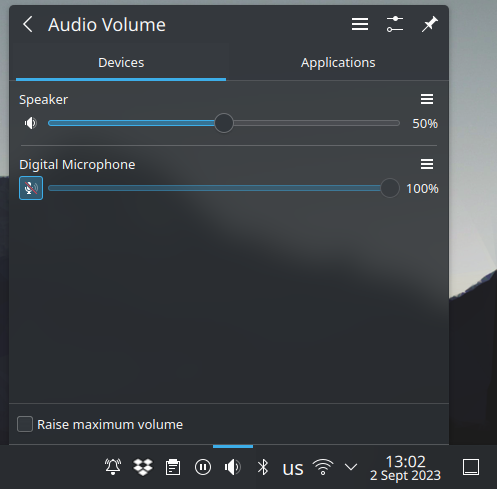
The Audio Volume widget on the bottom panel allows you to perform the following tasks:
| Task | Description |
|---|---|
| Select the active output device | Select any of the available output devices to change the active output device of your system. |
| Select the active input device | Select any of the available input devices to change the active input device of your system. |
| Control the volume of a device | Use the sliders to adjust the master volume of an input/output device. |
| Adjust the volume for a specific app | The Volume tab allows you to control the volume for a specific application. |
| Open the audio settings | Click the Configure Audio Devices button to open the audio configuration screen in System Settings. |
Users
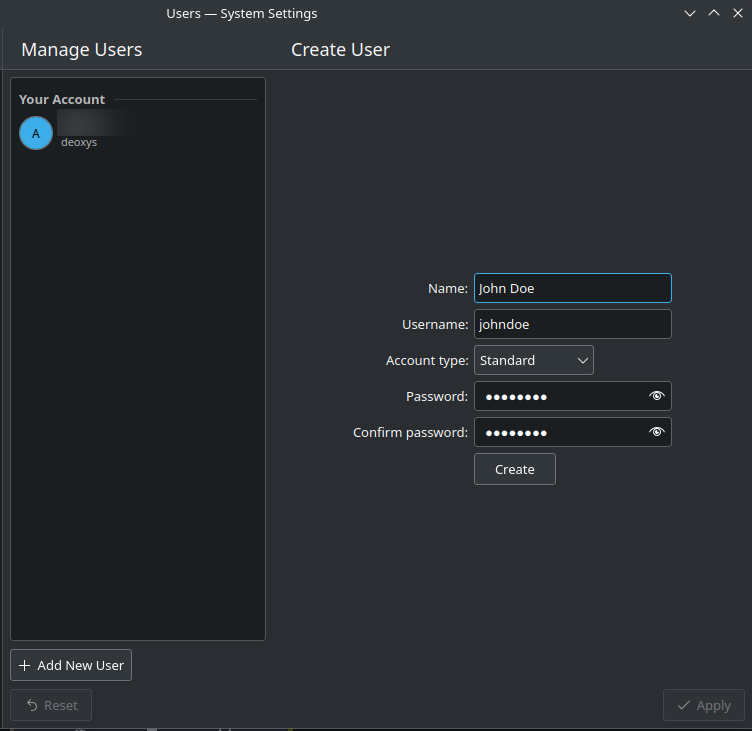
Adding user accounts
-
In the System Settings screen, go to Personalization > Users.
-
Click Add New User.
-
Configure the necessary settings.
-
Click Create
The Authentication Required window appears.
-
Specify your user password and click OK.
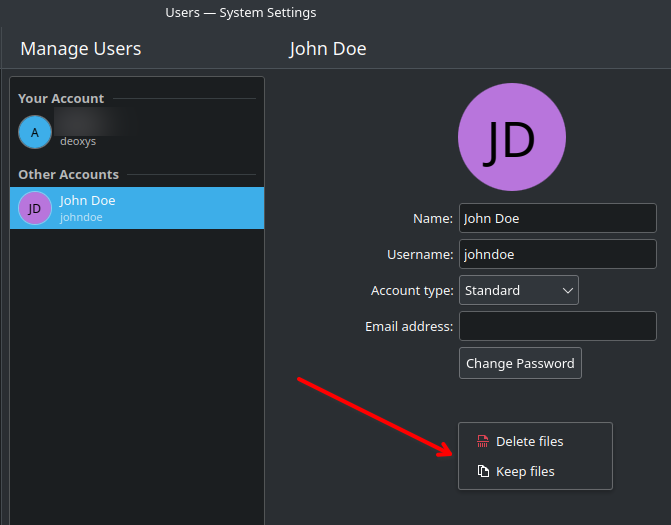
Removing user accounts
-
In the System Settings screen, go to Personalization > Users.
-
Select an account from the user list.
-
Click Delete User.
-
To delete the the user account files, select Delete files; to keep the files for posterior use, select Keep files.
User interface
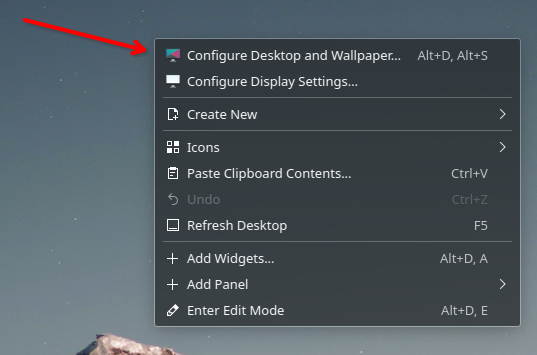
Customizing the desktop
The Desktop Settings screen allows you to customize various aspects of your desktop, such as the wallpaper and the desktop icons. To open Desktop Settings screen, right-click anywhere on the desktop and select Configure Desktop and Wallpaper....
The following table describes how to customize the desktop using the Desktop Folder Settings screen.
| Section | Description |
|---|---|
| Change the wallpaper | Go to the Wallpaper section, choose an image from the list, and click OK. |
| Hide the desktop icons | Go to the Wallpaper section, change Layout to Desktop, and click OK. |
| Configure mouse gestures | Go to the Mouse Actions section to setup mouse gestures. |
| Change the folder displayed on the desktop | Go to the Location section, select a location in your system, and click OK. |
| Change the appearance of the desktop icons | Go to the Icons section, configure the necessary settings, and click OK. |
| Display only specific files in the desktop | Go to the Filter section,configure the necessary settings, and click OK. |
Icons and Location are only available when the desktop layout is set to Folder View.
Virtual desktops
Plasma allows you to have multiple desktops on your computer.
Virtual desktops are helpful to keep tasks organized and avoid clutter. For example, you could have one virtual desktop for work, one for school, and one for personal use.
Plasma arranges virtual desktops in a grid. You can configure the rows of the grid to suit your needs.
Solus Plasma has one virtual desktop and one row by default.
Creating virtual desktops
-
In the System Settings screen, go to Workspace > Workspace Behavior > Virtual Desktops.
-
Define the number of rows in the grid.
-
Create a new virtual desktop.
- Click Add.
- (Optional) Click the Rename button to change the name of the virtual desktop.
-
Repeat the previous step to add multiple virtual desktops.
cautionPlasma arranges the desktops by the rows automatically.
-
(Optional) Configure the behavior of the virtual desktops.
- Navigation wraps around: Lets you cycle through your virtual desktops in a loop using keyboard shortcuts or mouse gestures.
- Show animation when switching: Displays animations when switching between virtual desktops.
- Show on-screen display when switching: Displays the name of the current desktop when switching between desktops.
- Show desktop layout indicators: Displays the virtual desktop grid when you switch between desktops.
-
Click Apply
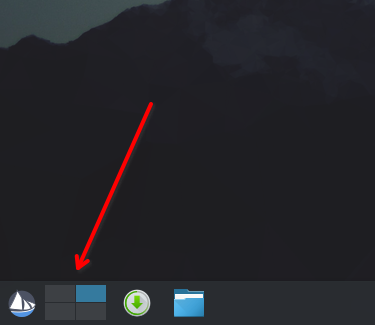
Plasma displays the virtual desktop grid next to the application launcher button.
Switching between virtual desktops
The following table outlines the methods to change between desktops in Solus Plasma.
| Method | Description |
|---|---|
| Using the applet in the bottom panel | Use the the virtual desktop grid next to the application launcher button to change between your virtual desktops. |
| Using mouse gestures | Move the mouse pointer anywhere in the desktop, then move the mouse wheel to change between your virtual desktops. |
| Using keyboard shortcuts | Open System Settings, go to Workspace > Shortcuts > KWin, then search for desktop to see the available keyboard shortcuts to switch between virtual desktops |
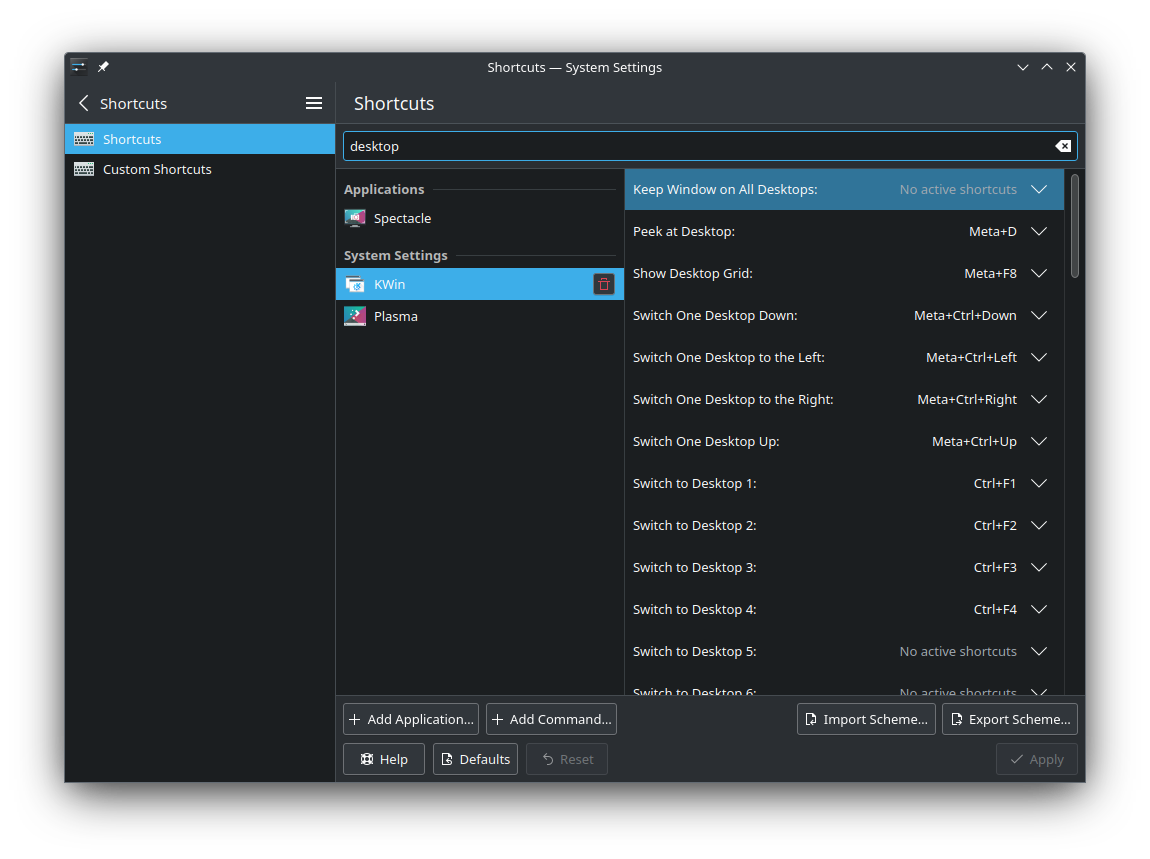
Some of the keyboard shortcuts are disabled by default.